Split Squat: The Complete Guide to Mastering This Powerful Exercise
Imagine you’re standing at the rack, shoes laced up, ready to elevate your leg day game. As you scan the gym, you notice a trainer guiding someone through a move that looks deceptively simple—one foot forward, the other back, lowering with control. You give it a try, but suddenly realize there’s more to the split squat than meets the eye. Your balance wobbles, your front thigh burns, and you’re left wondering how to truly master split squat form for results without risking your knees.
If you’ve seen this exercise in action or tried it yourself, you know that the split squat exercise isn’t just about brute strength. It’s about balance, coordination, and targeted muscle engagement. Whether you’re seeking new ways to build your quads and glutes or searching for a safer alternative to heavy barbell lifts, the split squat belongs in your routine. Let’s break down what makes this move so effective, how to perform it correctly, and why refining your technique will transform your workouts.
What Is a Split Squat?
The split squat is a lower-body exercise that looks similar to a stationary lunge, but with a unique twist. Instead of stepping forward and back, you keep your feet in a staggered stance and perform up-and-down movements, lowering your back knee toward the ground. This unilateral approach requires each leg to work independently, which means you’re not just building muscle—you’re ironing out strength imbalances and improving stability.
Unlike a traditional squat, where both feet remain parallel and shoulder-width apart, a split squat demands you maintain a fixed position. Your front foot bears much of the load, while your rear foot helps with balance and support. This makes the exercise especially effective for targeting the quadriceps, glutes, and hip stabilizers.
People often confuse the split squat movement with lunges or Bulgarian split squats. However, the main difference is that in the basic split squat, your back foot stays grounded on the floor, rather than being elevated. This subtle change shifts the focus and makes the movement accessible to nearly every fitness level, from beginners to advanced athletes.
Beyond building muscle, incorporating split squats into your program can enhance single-leg strength, flexibility, and overall coordination. If you struggle with standard squats due to mobility or injury, learning proper split squat techniques might be just the solution you need.
Why the Split Squat Exercise Belongs in Your Workout
Introducing the split squat exercise into your training has benefits that go far beyond simple muscle gain. Because you work one leg at a time, you’re forced to address any disparities in strength or mobility—a common issue for athletes and casual gymgoers alike. Over time, this can help correct imbalances that might otherwise lead to overuse injuries or poor movement patterns.
Split squats activate a host of muscles. Your front leg’s quadriceps, hamstrings, and gluteals are all heavily involved, while your calves and core stabilize the movement. This makes the split squat form a staple for developing powerful, functional lower-body strength, which translates to better performance in sports, running, and daily activities.
Another key advantage is joint health. Compared to heavy barbell squats, split squats put less compressive force on your spine and can be gentler on your knees, provided you use correct alignment. For those returning from injury or looking for a safer way to build leg strength, refining your split squat technique is an excellent alternative.
Finally, the adaptability of this exercise means you can tailor it to your needs—raise your back foot for added challenge, hold dumbbells for extra load, or use only your bodyweight to focus on form and stamina. Whatever your goal, split squatting can help you get there with efficiency and purpose.
Split Squat Form: Step-by-Step Instructions
Setting Up for the Split Squat
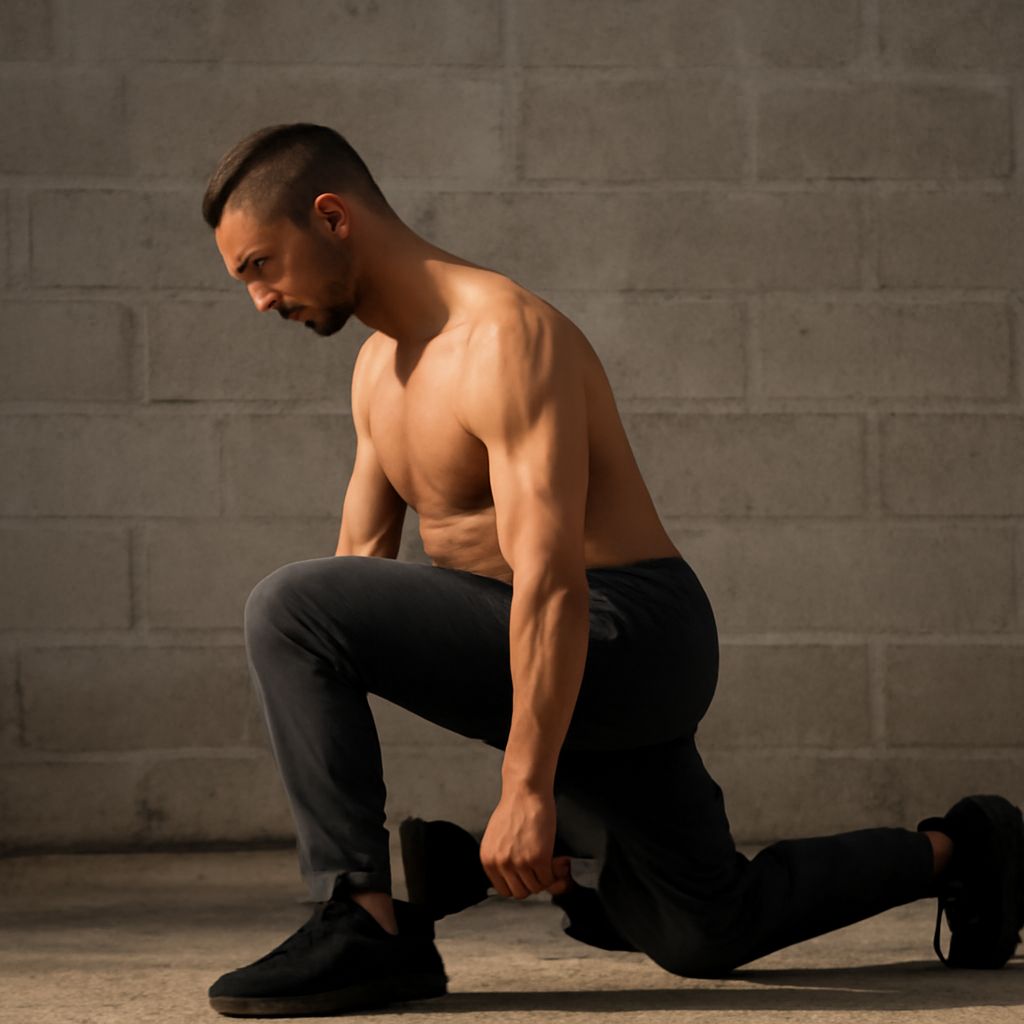
Start by standing tall, feet hip-width apart. Take a long step back with one foot, placing your toes gently on the floor. Your front foot should point straight ahead, with weight distributed mostly through the heel. Maintain an upright torso and square your hips forward, ensuring both knees are slightly bent to start.
How to Perform the Split Squat Exercise
From your staggered stance, brace your core. Slowly lower your back knee toward the ground, creating two roughly 90-degree angles at each knee. Keep your chest up and shoulders back, making sure your front knee tracks directly over your foot—never caving inward. Aim to stop just before your back knee touches the floor, then press through your front heel to return to the starting position. Repeat for desired repetitions before switching legs.
Take your time: a smooth, controlled tempo—about two seconds down, one second up—will challenge your stability and improve muscle activation. Test yourself by pausing briefly at the bottom to build isometric strength and control. Strive for 8–12 reps per leg to start, adjusting as your strength improves.
Common Mistakes and How to Fix Them
Many athletes struggle with maintaining proper split squat form, especially when fatigue sets in. Watch for these common errors:
- Knee alignment: If your front knee drifts past your toes or falls inward, adjust your stride length and focus on pressing through the heel.
- Torso position: Leaning too far forward places unnecessary stress on your lower back. Keep your chest proud and core engaged throughout.
- Balance instability: If you’re wobbling, reduce your range of motion or practice near a sturdy surface for support. As your coordination improves, increase depth and add load.
Regularly check your form in a mirror or record yourself to ensure you’re avoiding these pitfalls. A few mindful adjustments can make all the difference in effectiveness and safety.
Variations of the Split Squat for All Levels
Once you’ve nailed the standard split squat, it’s time to explore variations to keep your workouts challenging and rewarding. For beginners, bodyweight split squats are a fantastic entry point, helping you develop muscle memory and confidence before adding external resistance.
Ready for more intensity? Introduce dumbbells in each hand, or hold a kettlebell goblet-style at your chest. This not only increases the load but also demands greater stabilization from your core and shoulders. To further isolate your legs, try the rear foot elevated split squat—also known as the Bulgarian split squat—by propping your back foot on a bench or step. This shifts even more demand to the front leg, amplifying the training effect.
Advanced trainees can experiment with tempo adjustments, pausing at the bottom or performing slow descents to maximize time under tension. You can also add a deficit by standing on a low platform with your front foot, increasing the range of motion and muscle activation. Each split squat variation offers a new stimulus, preventing plateaus and keeping your body guessing.
Remember, mastery comes from both consistency and progression. Rotate these split squat forms into your routine based on your goals, whether that’s building muscle, improving balance, or enhancing athletic capability.
Tips and Safety for Getting the Most Out of Split Squats
To maximize the benefits and minimize risk, warm up thoroughly before your workout. Dynamic stretches for the hips, quads, and hamstrings, followed by a few bodyweight split squats, will prime your joints and muscles for action.
Focus on quality over quantity. It’s better to perform fewer repetitions with impeccable split squat technique than to rush through sloppy sets. If you experience any pain—especially in your knees or lower back—re-evaluate your stance and reduce weight until your form is solid.
Use mirrors, record videos, or ask a coach for feedback. These tools help you spot subtle shifts in alignment that can make or break your progress. Gradually increase resistance, never sacrificing control or proper positioning for heavier loads. Respect your limits; your body will adapt and grow stronger over time.
Cool down after your session with static stretching, focusing on the hip flexors, quads, and glutes. This promotes flexibility and reduces soreness, setting you up for your next split squat exercise session.
Frequently Asked Questions About Split Squats
How low should I go in the split squat? Lower your back knee until it’s just above the floor—about one to two inches—but avoid slamming it down. Your front thigh should reach parallel to the ground, or as close as mobility allows, while maintaining upright posture and knee alignment.
Can I do split squats every day? While split squats are a fantastic unilateral exercise, it’s best to allow at least one day of rest between intense sessions for each muscle group. This gives your body time to recover and adapt, preventing overuse injuries.
What if I have trouble balancing? Begin near a wall or sturdy object for support. Over time, as your stabilizers strengthen, you’ll find your coordination and confidence in split squat movements improve significantly.
Safety Recap: Proper split squat form, gradual progression, and attention to alignment are key for safe and effective training. Listen to your body, use mirrors or feedback to check technique, and enjoy the muscle-building rewards of this versatile lower-body movement.