Protein Cookie Guide: High Protein Cookies You Can Make at Home
Protein Cookie Guide: High Protein Cookies You Can Make at Home
You’ve been sticking to your nutrition goals all week, and then the craving hits — something sweet, satisfying, and ideally not a nutritional disaster. That’s exactly where a protein cookie steps in. Whether you’re fueling a post-workout snack or just looking for a smarter dessert, high protein cookies can deliver the taste you want without derailing your progress.
If you’ve ever wondered how to bake the best protein cookies at home, you’re in the right place. Easy protein cookies don’t require fancy equipment or obscure ingredients, and with a solid chocolate protein cookies recipe, you can have a batch ready in under 30 minutes. Let’s break down everything you need to know.
Why Protein Cookies Beat Regular Cookies
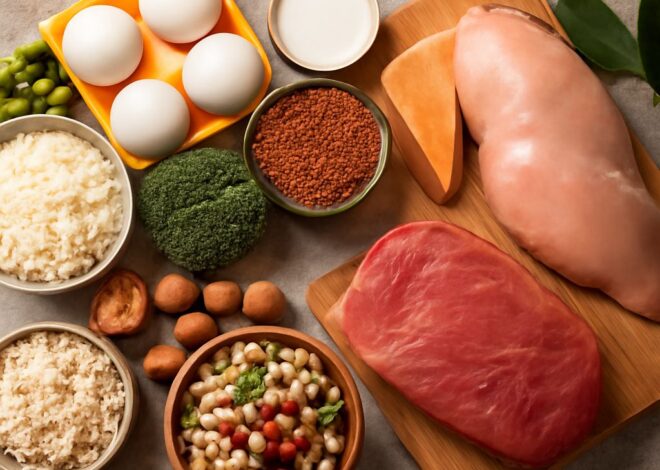
Standard cookies are built around sugar, butter, and refined flour — a combination that spikes blood sugar and leaves you hungry an hour later. A properly formulated protein-packed cookie swaps some of those ingredients for high-protein alternatives like whey, casein, or plant-based protein powder. The result is a treat that digests more slowly, supports muscle repair, and keeps you feeling full longer.
Each cookie in a well-designed batch typically delivers 10–20 grams of protein, compared to just 1–3 grams in a conventional cookie. That difference adds up meaningfully over the course of a day.
Choosing the Right Protein Powder
Whey vs. Casein vs. Plant-Based
Whey protein creates a slightly crispier texture and bakes evenly at 350°F (175°C). Casein absorbs more liquid, yielding a denser, cake-like bite. Plant-based powders — pea, rice, or hemp blends — work best when you add an extra tablespoon of nut butter to compensate for reduced fat content. For most home bakers, whey concentrate is the easiest starting point.
Flavor Matters
Unflavored protein powders give you maximum control over the final taste. Chocolate-flavored varieties simplify a chocolatey batch, but be cautious — heavily sweetened powders can make cookies cloyingly sweet once combined with other sugars.
Essential Ingredients for the Best Protein Cookies
Building a reliable batch starts with getting the ratios right. Here is a tested baseline for roughly 12 cookies:
- 1 cup (100 g) rolled oats — provides fiber and binds the dough
- 2 scoops (60 g) protein powder — the protein backbone
- 1/3 cup (80 g) nut butter — fat source for moisture and flavor
- 2 tablespoons honey or maple syrup — natural sweetener
- 1 egg — binding and structure
- 1/4 teaspoon baking soda — leavening
- Pinch of salt — enhances all flavors
Optional add-ins include dark chocolate chips, chopped nuts, dried cranberries, or a dash of cinnamon. Each addition changes the macro profile slightly, so adjust portions accordingly.
Chocolate Protein Cookies: A Step-by-Step Recipe
Prep and Mix
Preheat your oven to 350°F (175°C) and line a baking sheet with parchment paper. In a large bowl, combine the oats, protein powder, baking soda, and salt. Stir until evenly mixed — about 30 seconds. In a separate bowl, whisk together the nut butter, egg, and sweetener until smooth. Pour the wet ingredients into the dry and fold together until a cohesive dough forms. If the mixture seems too dry (it should hold its shape when pressed), add 1–2 teaspoons of water at a time.
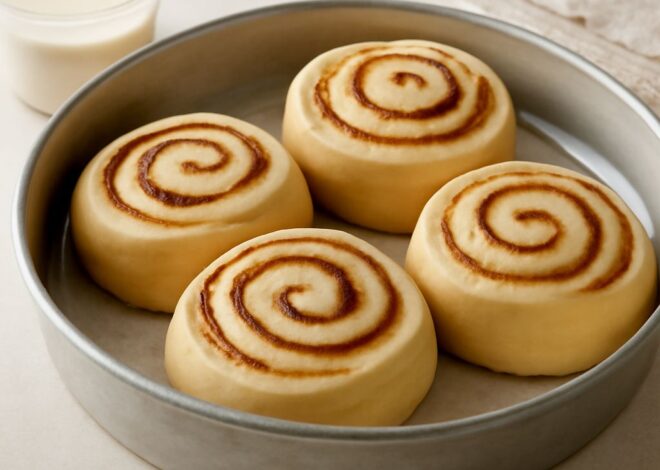
Shape and Bake
Scoop roughly 2 tablespoons of dough per cookie and press into a disc about 1/2 inch thick on the prepared sheet. Bake for 10–12 minutes. The edges should feel set and firm to the touch, but the centers may appear slightly underdone — they firm up as they cool on the pan for 5 minutes before transferring to a wire rack.
Macros and Nutrition Breakdown
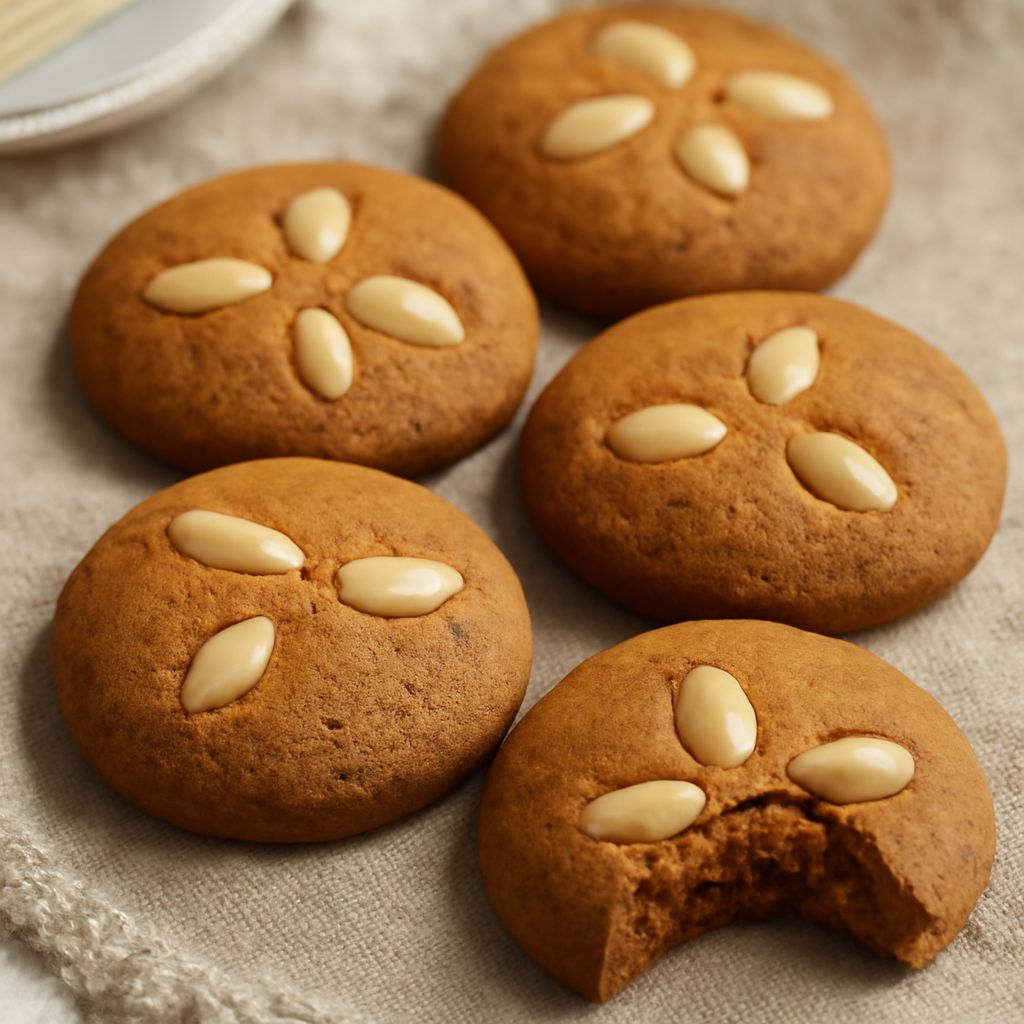
Using the baseline recipe with whey chocolate protein and almond butter, each cookie delivers approximately:
- Calories: 130–150 kcal
- Protein: 12–14 g
- Carbohydrates: 12–15 g
- Fat: 5–7 g
- Fiber: 2 g
These numbers compare favorably to store-bought protein cookies, which often exceed 200 calories while containing added oils and sugar alcohols that can cause digestive discomfort at high doses.
Common Mistakes and How to Fix Them
Dry, Crumbly Texture
If your cookies crumble, you’ve likely added too much protein powder relative to fat and liquid. Increase nut butter by one tablespoon or add a splash of milk (dairy or plant-based) to restore pliability.
Dense or Rubbery Bite
Over-mixing develops excess gluten from the oats. Fold the dough only until ingredients are combined — stop as soon as no dry powder remains.
Flat Cookies
Too much liquid or sweetener causes spreading. Chill the dough for 15–20 minutes before baking to help the cookies hold their shape in the oven.
Storing and Meal-Prepping Protein Cookies
Room-temperature storage in an airtight container keeps cookies fresh for 4–5 days. Refrigeration extends shelf life to 10 days. For longer storage, wrap individual cookies in plastic wrap, place them in a freezer-safe bag, and freeze for up to 3 months. Thaw at room temperature for 20–30 minutes or microwave for 20–25 seconds.
Batch baking on Sunday is one of the most effective ways to ensure you have easy protein cookies on hand throughout the week, eliminating the temptation to reach for less nutritious snacks.
Next Steps
Start with the baseline chocolate recipe to get familiar with the dough texture and baking time. Once you’re comfortable, experiment with different protein powder flavors — vanilla works beautifully with oats and dried fruit, while peanut butter powder creates an intensely nutty profile. Track your macros for the first few batches to ensure the cookies fit your daily protein targets, then adjust portion sizes as needed to stay on track.